Thursday, July 25, 2013

What the site looks like now...

Here are a couple of photos that lets us see the field test plot as it appeared in Google Earth imagery as of 3/21/2013. The top photo is a closeup of the field test plot.
Notice in the second of the two photo above the large grayish area (outlined in blue) to the left (west) of the field test plot (outlined in green). That area has been newly cleared (thanks to the hard work of 7 Pilot Rock Conservation Camp hand-crews between December and January of 2012-2013) of standing dead Cottonwood, Willow, and Arizona Ash, which was killed in the August 13, 2010 fire. This damaged and cleared area will act as a test site for tall pot raised native plants that are currently being grown on the Mojave River Campus of the Lewis Center for Educational Research. More on that project, the High Desert Tall Pot & Mojave River Native Plant Rehabilitation Project [HDTP & MRNPRP ] will follow in the next post.

Saturday, June 30, 2012

June 8th, 2012

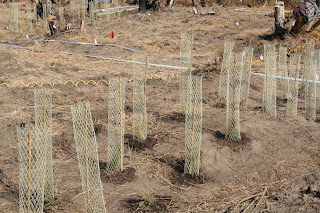
Today I collected site climatic data, righted rodent proof biodegradable plant protectors and "weed whacked" the native wild rye grass that has "broken through" last summer's treatments. Noticed that the white cards (that we wrote information on about each row and its treatment using black and violet Sharpe) faded and may need to be redone and placed in the holders backwards to protect them from the sun. Live and learn I guess... the nature of any scientific pursuit. On the species survival front, 6 months after their installation, the observations that we made back during late April and early May still hold. That's all for now...

Friday, April 27, 2012

And Now That Spring Is Here...

Since late January 2012 until yesterday, Wednesday, April 23, 2012, my students and I have been visiting the Forest Rehabilitation Study Site located in the Mojave River's riparian forest adjacent to our school campus on a semi-weekly basis. During each visit we have reset the protective cages around plants that have been blown over during storms, looked for evidence of seed germination under the jute netting, looked for evidence of new growth from planted stock, looked for evidence herbivorous activity (fecal dropping, exploratory holes, torn up planting, cropped plants etc). We have also collected data files stored on the Micro HOBO station located near the site. Below I have included a low-res graph of the kind of data that is being collected.

During our last two visit (4/2/2012 & 4/23/2012) we made the following observations:

  • There is infrequent evidence in the seeded plots of seed and root gathering and exploration. Rabbit dropping have also been seen here and there in the study site.
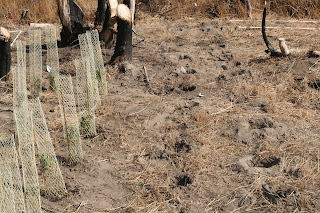
  • Evidence of carnivores crossing the study site included many foot print trails and the occasional scat pile as in the above picture.
  • Here is an example of a jute row cover that was re-spread on 4/2/2012 after a wind and rain storm. Notice the color difference (bleached gray compared to darker brown
  • Some sections of the jute that was laid over the seeded area had been rolled up by the wind where the stakes used to hold it in place had broken, were pulled out or just failed because the jute weave being held in place unraveled.


  • At this time the green growth amongst the dry straw colored grass blades is the only way we can easily determine if the one gallon plant stock that was installed between 11/ 7/2011 and 11/11/2011 has survived the winter or not. Most of the grasses are still either dormant or have died as they have not demonstrated green regrowth yet (4/23/2012) and only one type of grass has demonstrated regrowth. As of the 4/23/2012,  germination and break through growth of any of the seeded species have not been observed yet under the "jutted" rows.
  • In the foreground of this picture wild rye grass that inhabited the study site before it was cleared and sprayed in the summer and fall of 2011 can be seen "breaking through" in a seeded plot. This regrowth is not to be confused with successful germination of the target species that was planted in this area.
  • In this picture we have captured an the lower portion of a Wolf Berry (species?) planting that is "re-leafing" towards the bottom while the top is still un-foliated. These specimens were planted in a "foliated" state between 11/7/2012 and 11/11/2011.
  • In this picture contains an entire specimen of a Salt Brush (species ?) planting that has either "re-leafed" or never lost its foliage after planting. These specimens were planted in a "foliated" state between 11/7/2012 and 11/11/2011.
  • Looking west, across the center of the study site, where soil moisture, soil temperature, air temperature and humidity data is collected for this study site.
  • Looking across the study site from the southeast corner looking northwest.
  • The multi-axis graph above plots all of the data collected (air temperature [solid black line], soil temperature [---- black], relative humidity [solid blue line], and soil water content [green line]) at the study site between 1.20/2012 and 4/9/2012. For an Excel spreadsheet that contains the same data email your request to mhuffine@lcer.org.


Saturday, November 12, 2011

Lewis Center Wildlands Rehab Study Setup: Day 1


Day 1: Monday 11/7/2011

Weather was perfect; no wind, enough clouds so the sun was not to hot, a high of about 60 F, following a light weekend rain.

Dr. Ken Lair, Jackie Lindgren, Matt Huffine, David Pike, about 20+/- JROTC students from the senior flight, along with a handful other students that joined periodically throughout the day worked together to:
  • Auger about 1000+ holes to install 125 one gallon plants for each of 12 different species.
  • Dig out each hole by hand.
  • Water each hole with a 3 second burst of water from a hose (equipped with a standard garden multiple orifice attachment) attached to a portable, trailer mounted "yellow" water tank using the Quad batteries to pressurize the tank.
  • Measure out a tablespoon of mycorrhizal inoculant for each hole or place a "tea bag" with mycorrhizal inoculant and plant friendly water absorbing polymer in each hole.
  • Haul in on a trailer pulled by a quad 1 gallon plants that were planted in double rows of 10 each at about a two on center spacing from each other (within and between the rows). The plants were grown especially for this project by Mountain States Wholesale Nurseries in Arizona.
  • Water each plant after planting with a 3 second burst of water.
  • Weave a 3+ foot bamboo stick down through the rabbit/rodent guards to anchor them into the ground.

What the study plot looked like at the start of the day 1:


And at the end of day 1:


Lewis Center Wildlands Rehab Study Setup: Day 2


Day 2: Tuesday 11/8/2011

Weather was perfect again; no wind, enough clouds so the sun was not to hot, a high of about 60 F.

Dr. Ken Lair, Jackie Lindgren, Matt Huffine, David Pike, about 20+/- JROTC students from a flight composed of juniors and sophomores, along with a handful other students that joined periodically throughout the day worked together to complete all the tasks started during Day 1 on Monday 11/7/2011 which included
  • Hauling down and distributing most of the remaining plants, finishing auguring out and cleaning out the remaining holes.
  • Providing each plant with its prescribed treatment by plot location (innoculum, teabag and/or zeolite column).
  • Watering each planting location before and after planting.
  • Affixing a rabbit guard and bamboo pole above each planting.
Besides completing the steps outlined above, ones required for setting up the test plots that required 1 gallon plants, this group finished the day doing quality control for the work that was completed during the first 2 days of work.


What the study plot looked like at the start of the day 2:


What the study plot looked like at the end of day 2:

Lewis Center Wildlands Rehab Study Setup: Day 3

Day 3: Tuesday 11/9/2011

As with the first two days, the weather was perfect again; a slight wind kicked up about midday. We had more cloud cover then we had for the first two days and a high temp. of about 55 F. The soil was dryer than it was during the first two days. Dr. Ken Lair, Jackie Lindgren, Matt Huffine, David Pike, about 20+/- JROTC students from a flight composed of sophomores and freshman, along with a handful other students that joined periodically throughout the day worked together to complete all the tasks started on Day 1 on Monday 11/7/2011 and continued on Day 2 on Tuesday 11/8/2011 which included:
  • Hauling down and distributing the remaining plants, finishing auguring out and cleaning out the remaining holes.
  • Providing each plant with its prescribed treatment by plot location (innoculum, teabag and/or zeolite column).
  • Watering each planting location before and after planting.
  • Affixing a rabbit guard and bamboo pole above each planting.
  • Besides completing the steps outlined above, ones required for setting up the test plots that required 1 gallon plants, this group also spent time doing quality control for the work that was completed during the first 3 days of work.

Seed Bed Prep, Planting and Covering

  • Tilling seed plot 1 and part of 2.
  • Racking and leveling/smoothing out the freshly tilled seed plots.
  • Rolling the leveled/smoothed freshly tilled seed plots with a yellow water filled 250+ lbs metal roller.
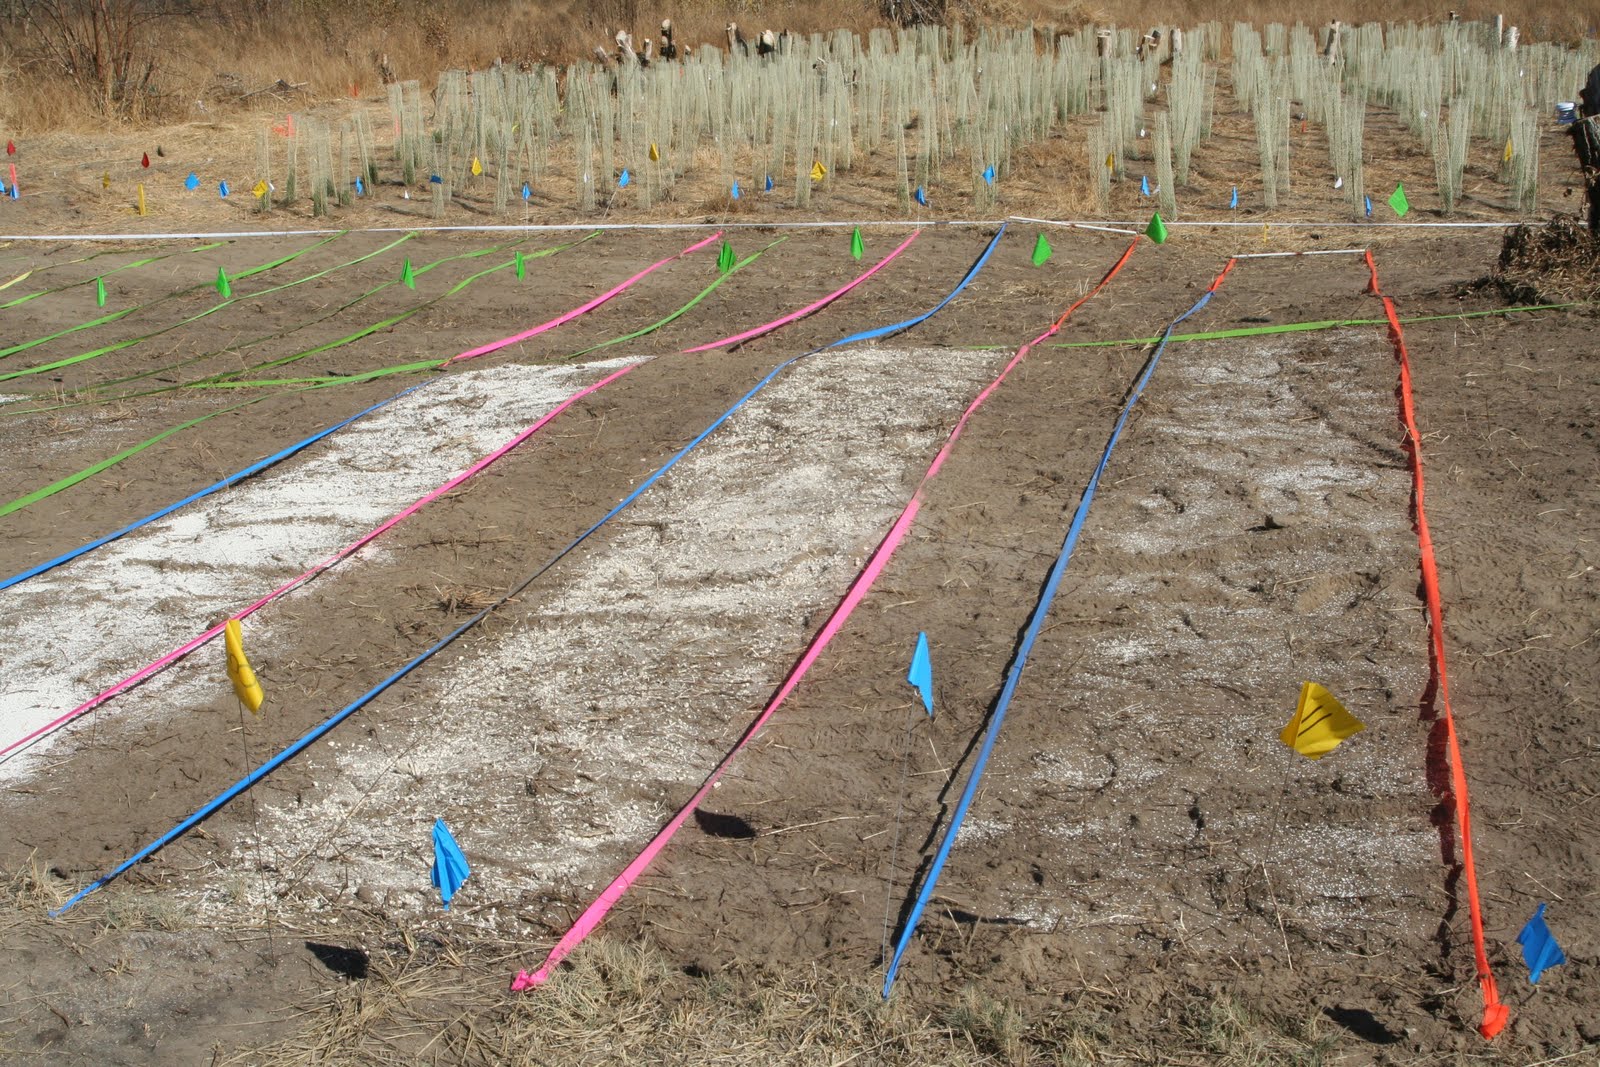
  • Segmenting the rolled seed plots into 3' by 40 foot seed beds bordered by 2' by 40 foot walkways using flagging and colored tape.
  • Seed was carefully weighed out and put into paper bags.
  • Placing a bag of seed in front of each 3 by 20 foot rolled seed bed.
  • Seeding 20 feet of each 40 foot bed with a single species of plant (20 feet received a bare, untreated seed, the other 20 feet a seed coated with clay and microrizal innoculum and a polymer that attracts and holds on to water)
  • Microrizal innoculum was spread out over the seed beds that received bare seed.
  • Rolling seed beds after receiving seed and innoculum.
  • Cutting 4 foot rolls of jute netting into 40 foot long pieces.

  • Removing plastic guide tapes and flagging after seeding and rolling.
  • Laying jute cloth onto each seeded and roll seed bed.
  • Staking down each 4 x 40 foot piece of jute cloth using clear plastic biodegradable spikes.
  • Repeating this seed bed preparation for the next 2 additional seed bed plots.
What the study plot looked like at the start of day 3:

What the study plot looked like at the end of day 3:


Mojave River Wildlands Rehab Study Setup: Day 4

Day 4: Thursday 11/10/2011

As with the prior three days, the weather was perfect again; the cloud cover pretty much set a gray cast of the day however. The high temp. was about 53 F. The soil was dryer than it was during the first three days. Dr. Ken Lair, Jackie Lindgren, Matt Huffine, about 20+/- JROTC students from a flight composed of mainly freshman, along with a handful other students that joined periodically throughout the day worked together to complete all the tasks started on Day 3, Wednesday 11/9/2011 :

Seed Bed Prep, Planting and Covering

  • Tilling seed plot 3.
  • Racking and leveling/smoothing out the freshly tilled seed plot.
  • Rolling the leveled/smoothed freshly tilled seed plots with a yellow water filled 250+ lbs metal roller.
  • Segmenting the rolled seed plots into 3' by 40 foot seed beds bordered by 2' by 40 foot walkways using flagging and colored tape.
  • Seed was carefully weighed out and put into paper bags.
  • Placing a bag of seed in front of each 3 by 20 foot rolled seed bed.
  • Seeding 20 feet of each 40 foot bed with a single species of plant (20 feet received a bare, untreated seed, the other 20 feet a seed coated with clay and microrizal innoculum and a polymer that attracts and holds on to water)
  • Microrizal innoculum was spread out over the seed beds that received bare seed.
  • Rolling seed beds after receiving seed and innoculum.
  • Cutting 4 foot rolls of jute netting into 40 foot long pieces.

  • Removing plastic guide tapes and flagging after seeding and rolling.
  • Laying jute cloth onto each seeded and roll seed bed.
  • Staking down each 4 x 40 foot piece of jute cloth using clear plastic biodegradable spikes.
  • Repeating this seed bed preparation for the next 2 additional seed bed plots.
  • Broadcasting across the entire site an organic rodent repellent made of pig and beef blood.

What the study plot looked like at the start of day 4:


What the study plot looked like at the end of day 4, the final workday (a panorama from the southwest corner looking back at the school behind the northeast corner of the study site)


Jacob Winsor surveying the finished project.


Jackie Lindgren (MDRCD) and Dr. Ken Lair (NRCS retired) surveying the finished study site.


Jackie and Dr. Lair leaving the location with the tools that were used to set up the study site.